Bibimbap. Korean ultimate crowd pleaser.

Like most of my culinary adventures, it all started accidentally with my Bibimbap as well.

I’ve realised that I bought not one but two portions of minced beef from my local butcher, and although I cook most of my meals in batches, the prospect of consuming a kilo of meat for one dish did not amuse me. at all. My resourceful instinct took over my braincells and one portion landed in the freezer. The other one landed in the bowl and has been soaked in a basic marinate of sweet soy sauce, honey, garlic, sesame oil. I also grated ginger which added that little extra warmth to the mixture!
I left it all overnight in the fridge which I am glad I did as the marinate did its bit and flavoured the meat so beautifully.

The good thing about this meal is that it is not possible to overdose any of the ingredients when preparing. If you either fry too much meat/veggies or perhaps cooked too much rice, you can always reuse it as a lunch-at-work option ( I do that quite regularly, hence my addiction to batch cooking, actually) or perhaps dinner the day after. Long live leftovers!

To make two portions you’ll need the following ingredients:
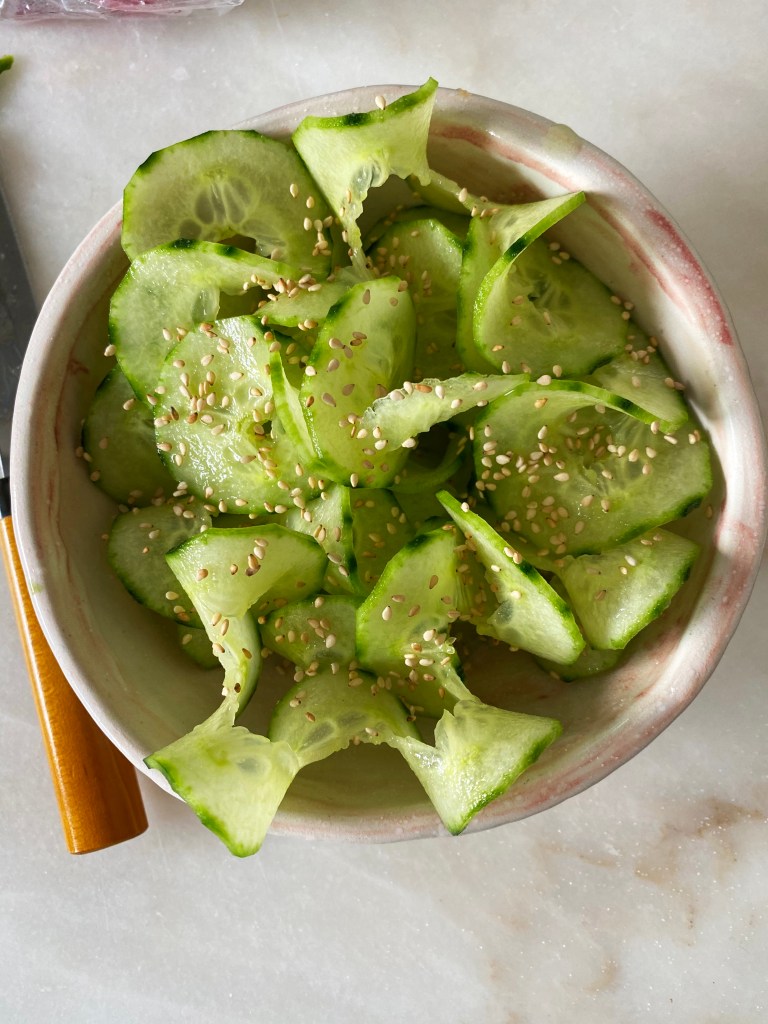
For the salad

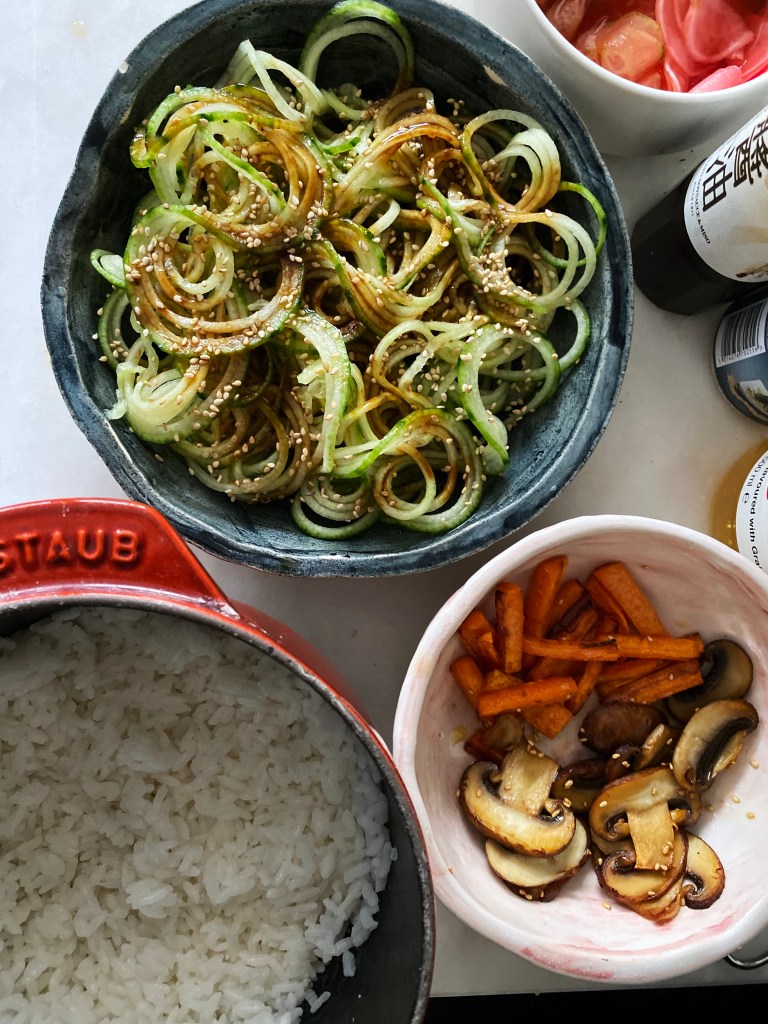
One cucumber, halved and spiralized
2tbsp of rice vinegar
4 tbsp of sweet soy sauce
2 tbsp of sesame oil
1tbsp of finely grated ginger
a pinch of sugar, a pinch of sesame seeds – toasted

In a small bowl mix all the wet ingredients with grated ginger.
Once ready pour over divided and spiralized cucumber ans sprinkle with sesame seeds.
Place in the fridge for the time being.

For the bibimbap:

2 portions of Nishiki rice (its the best due to its consistency),
a handful of radishes – finely sliced and bathed in vinegar and pinch of sugar,
a handful of chestnut mushrooms – roughly sliced,
1 large carrot halved and cut lengthways into quarters,
2 eggs for frying or egg yolks only – up to your taste and decorating preferences, really.

Cook the rice according to the instructions. Meantime slice thinly the radishes, place them in the bowl and soak in the white or rice vinegar and sprinkle with a pinch of sugar. Mix gently and place in the fridge to cool.
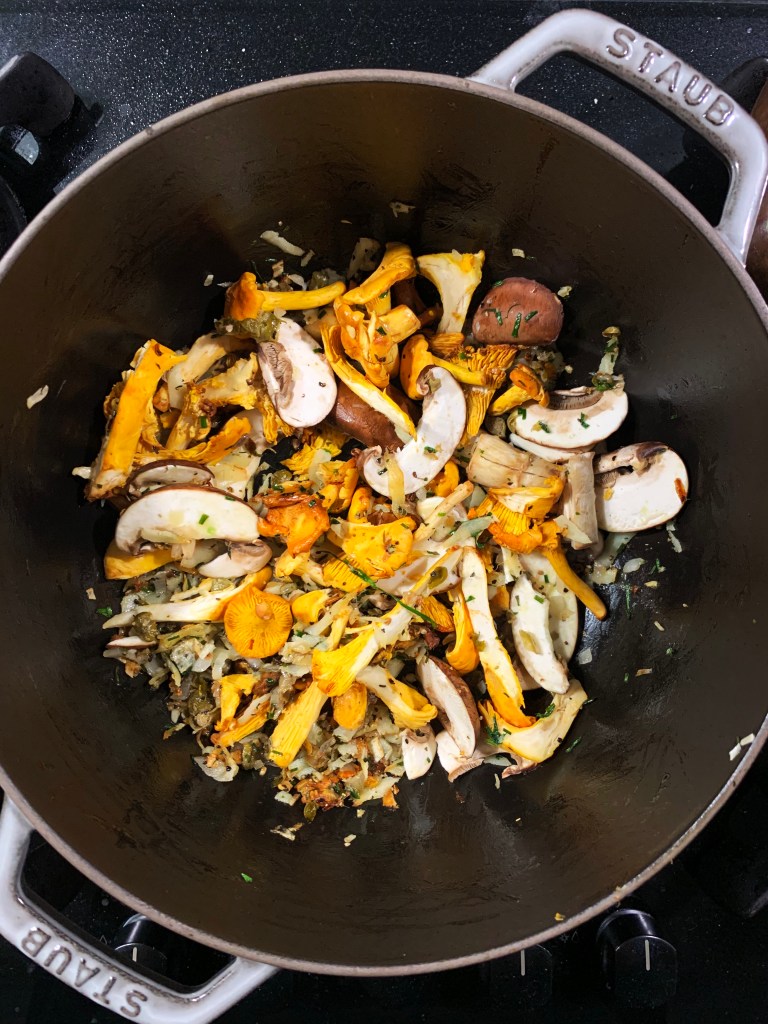
On a heavy bottomed pan, with a glug of sesame oil, fry gently carrot and mushrooms until soften slightly, al dente ideally. Finish with salt and pepper and set aside.

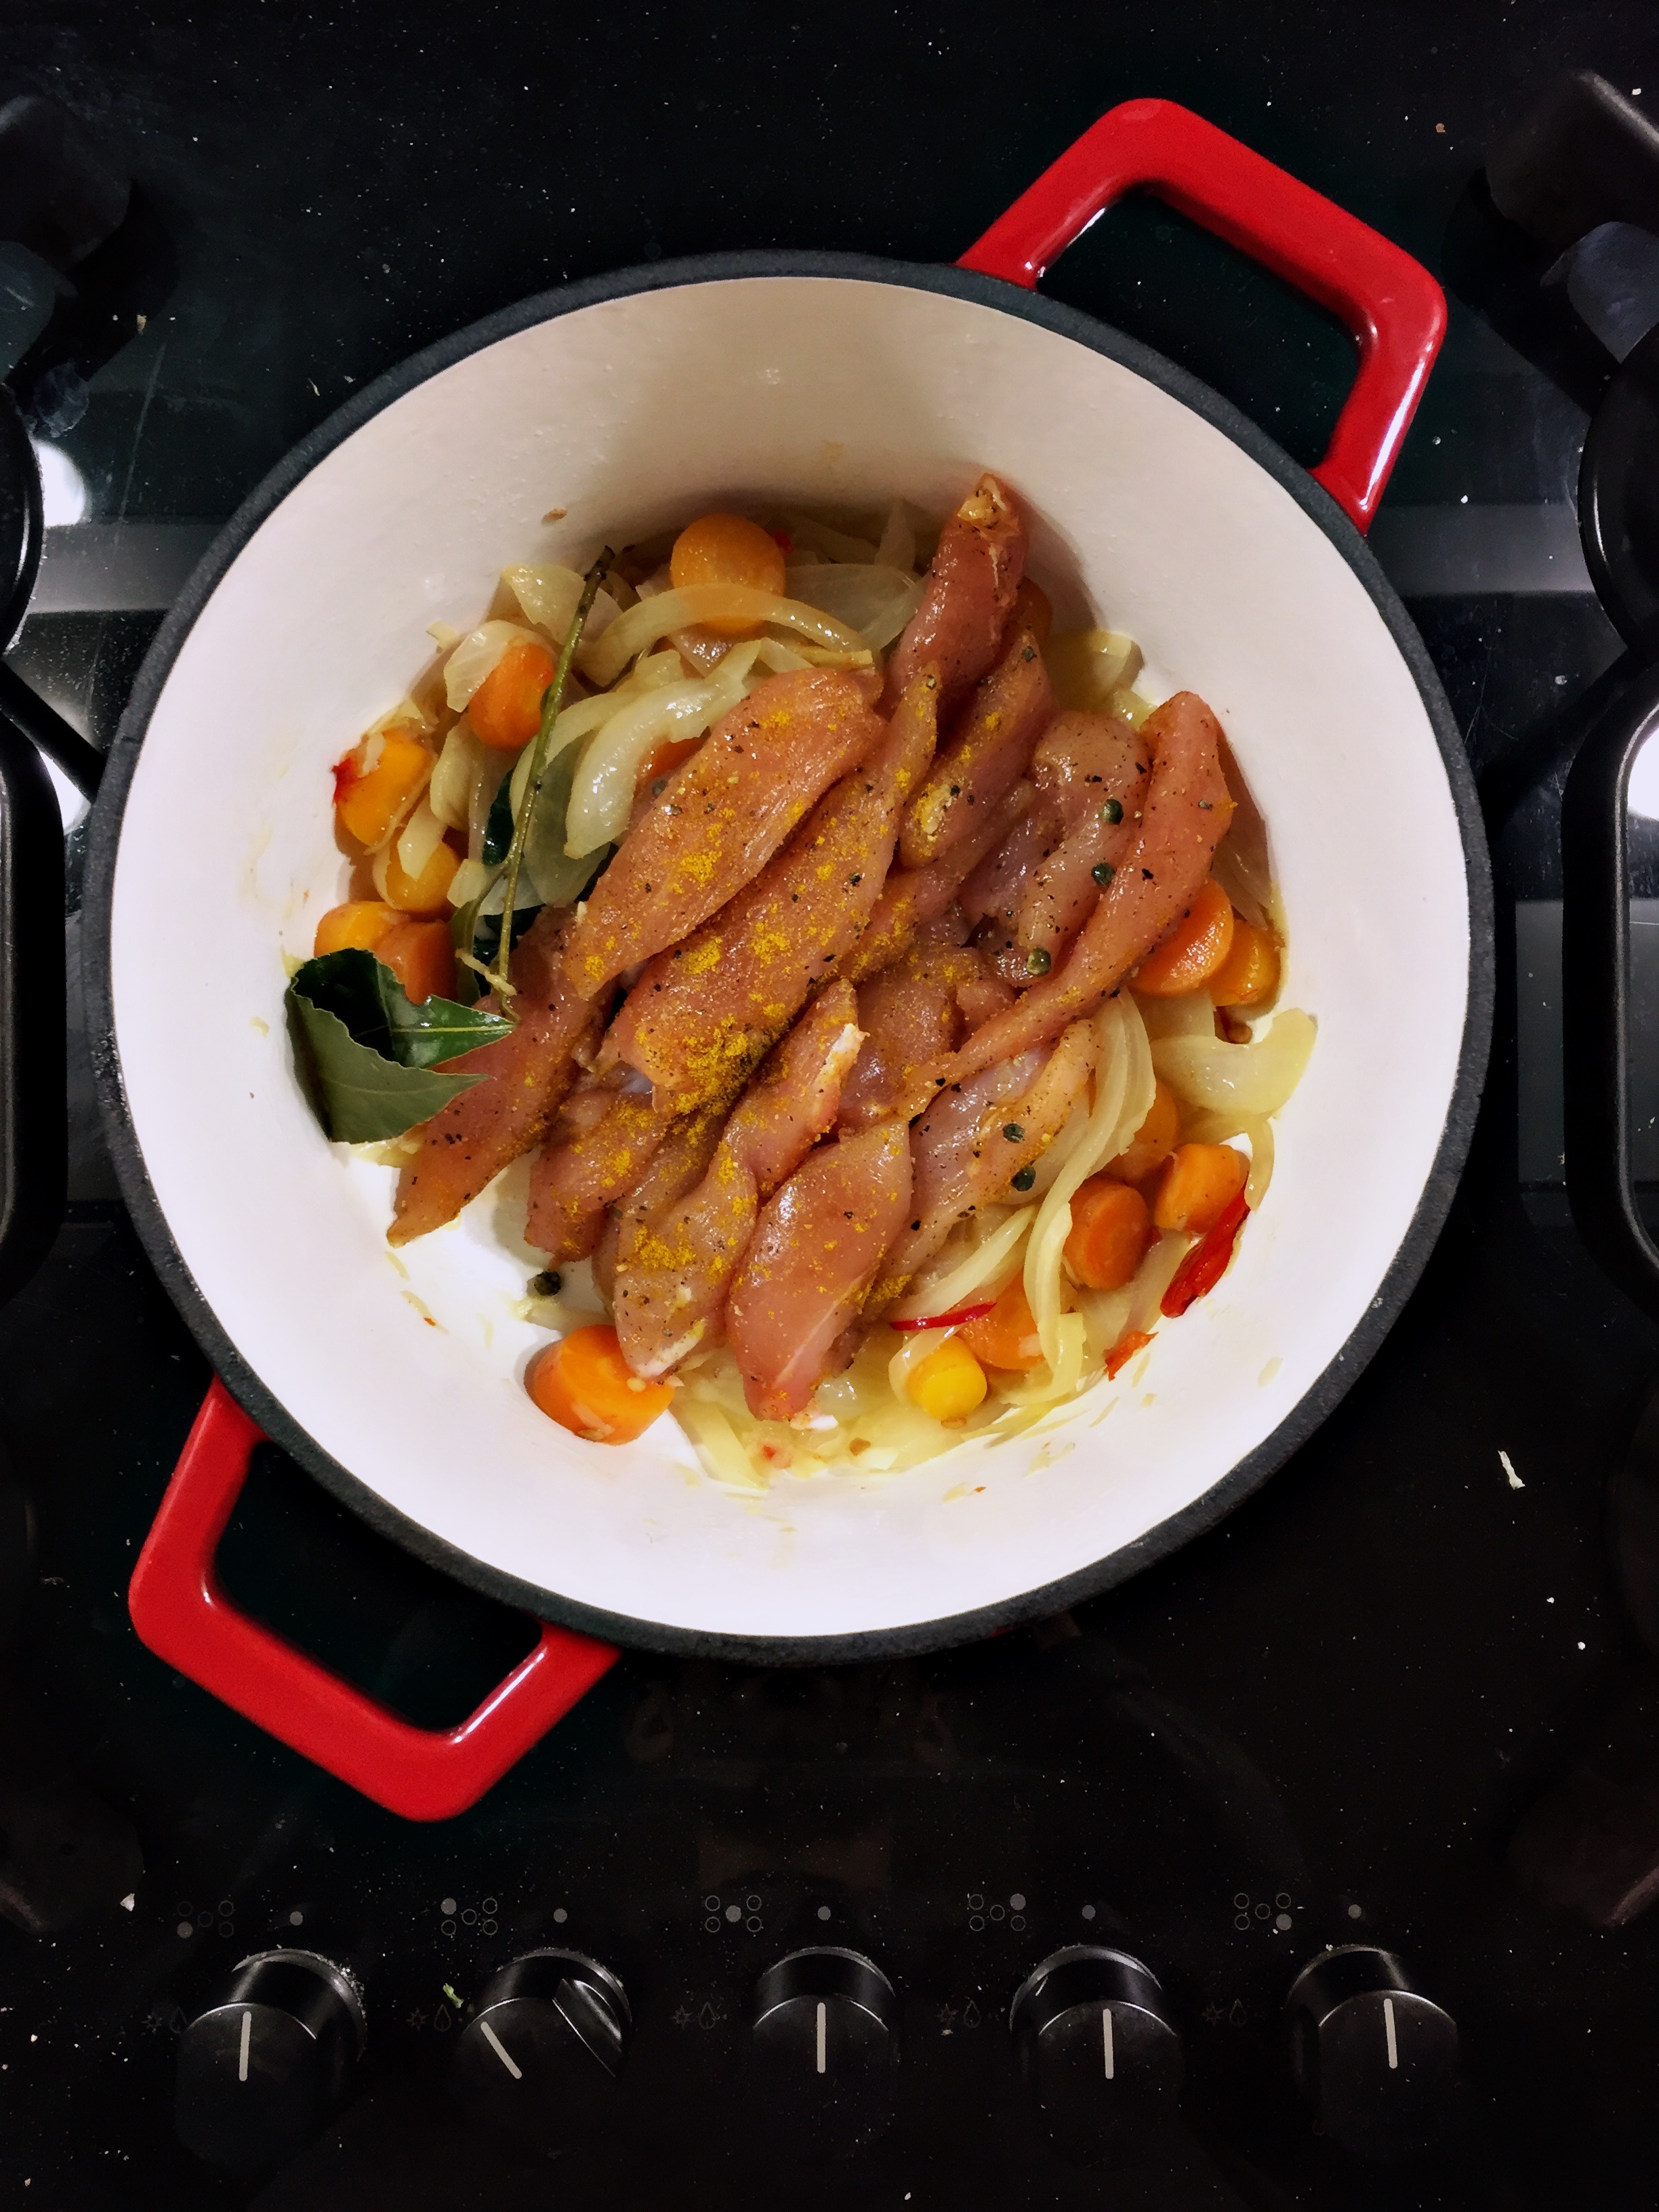
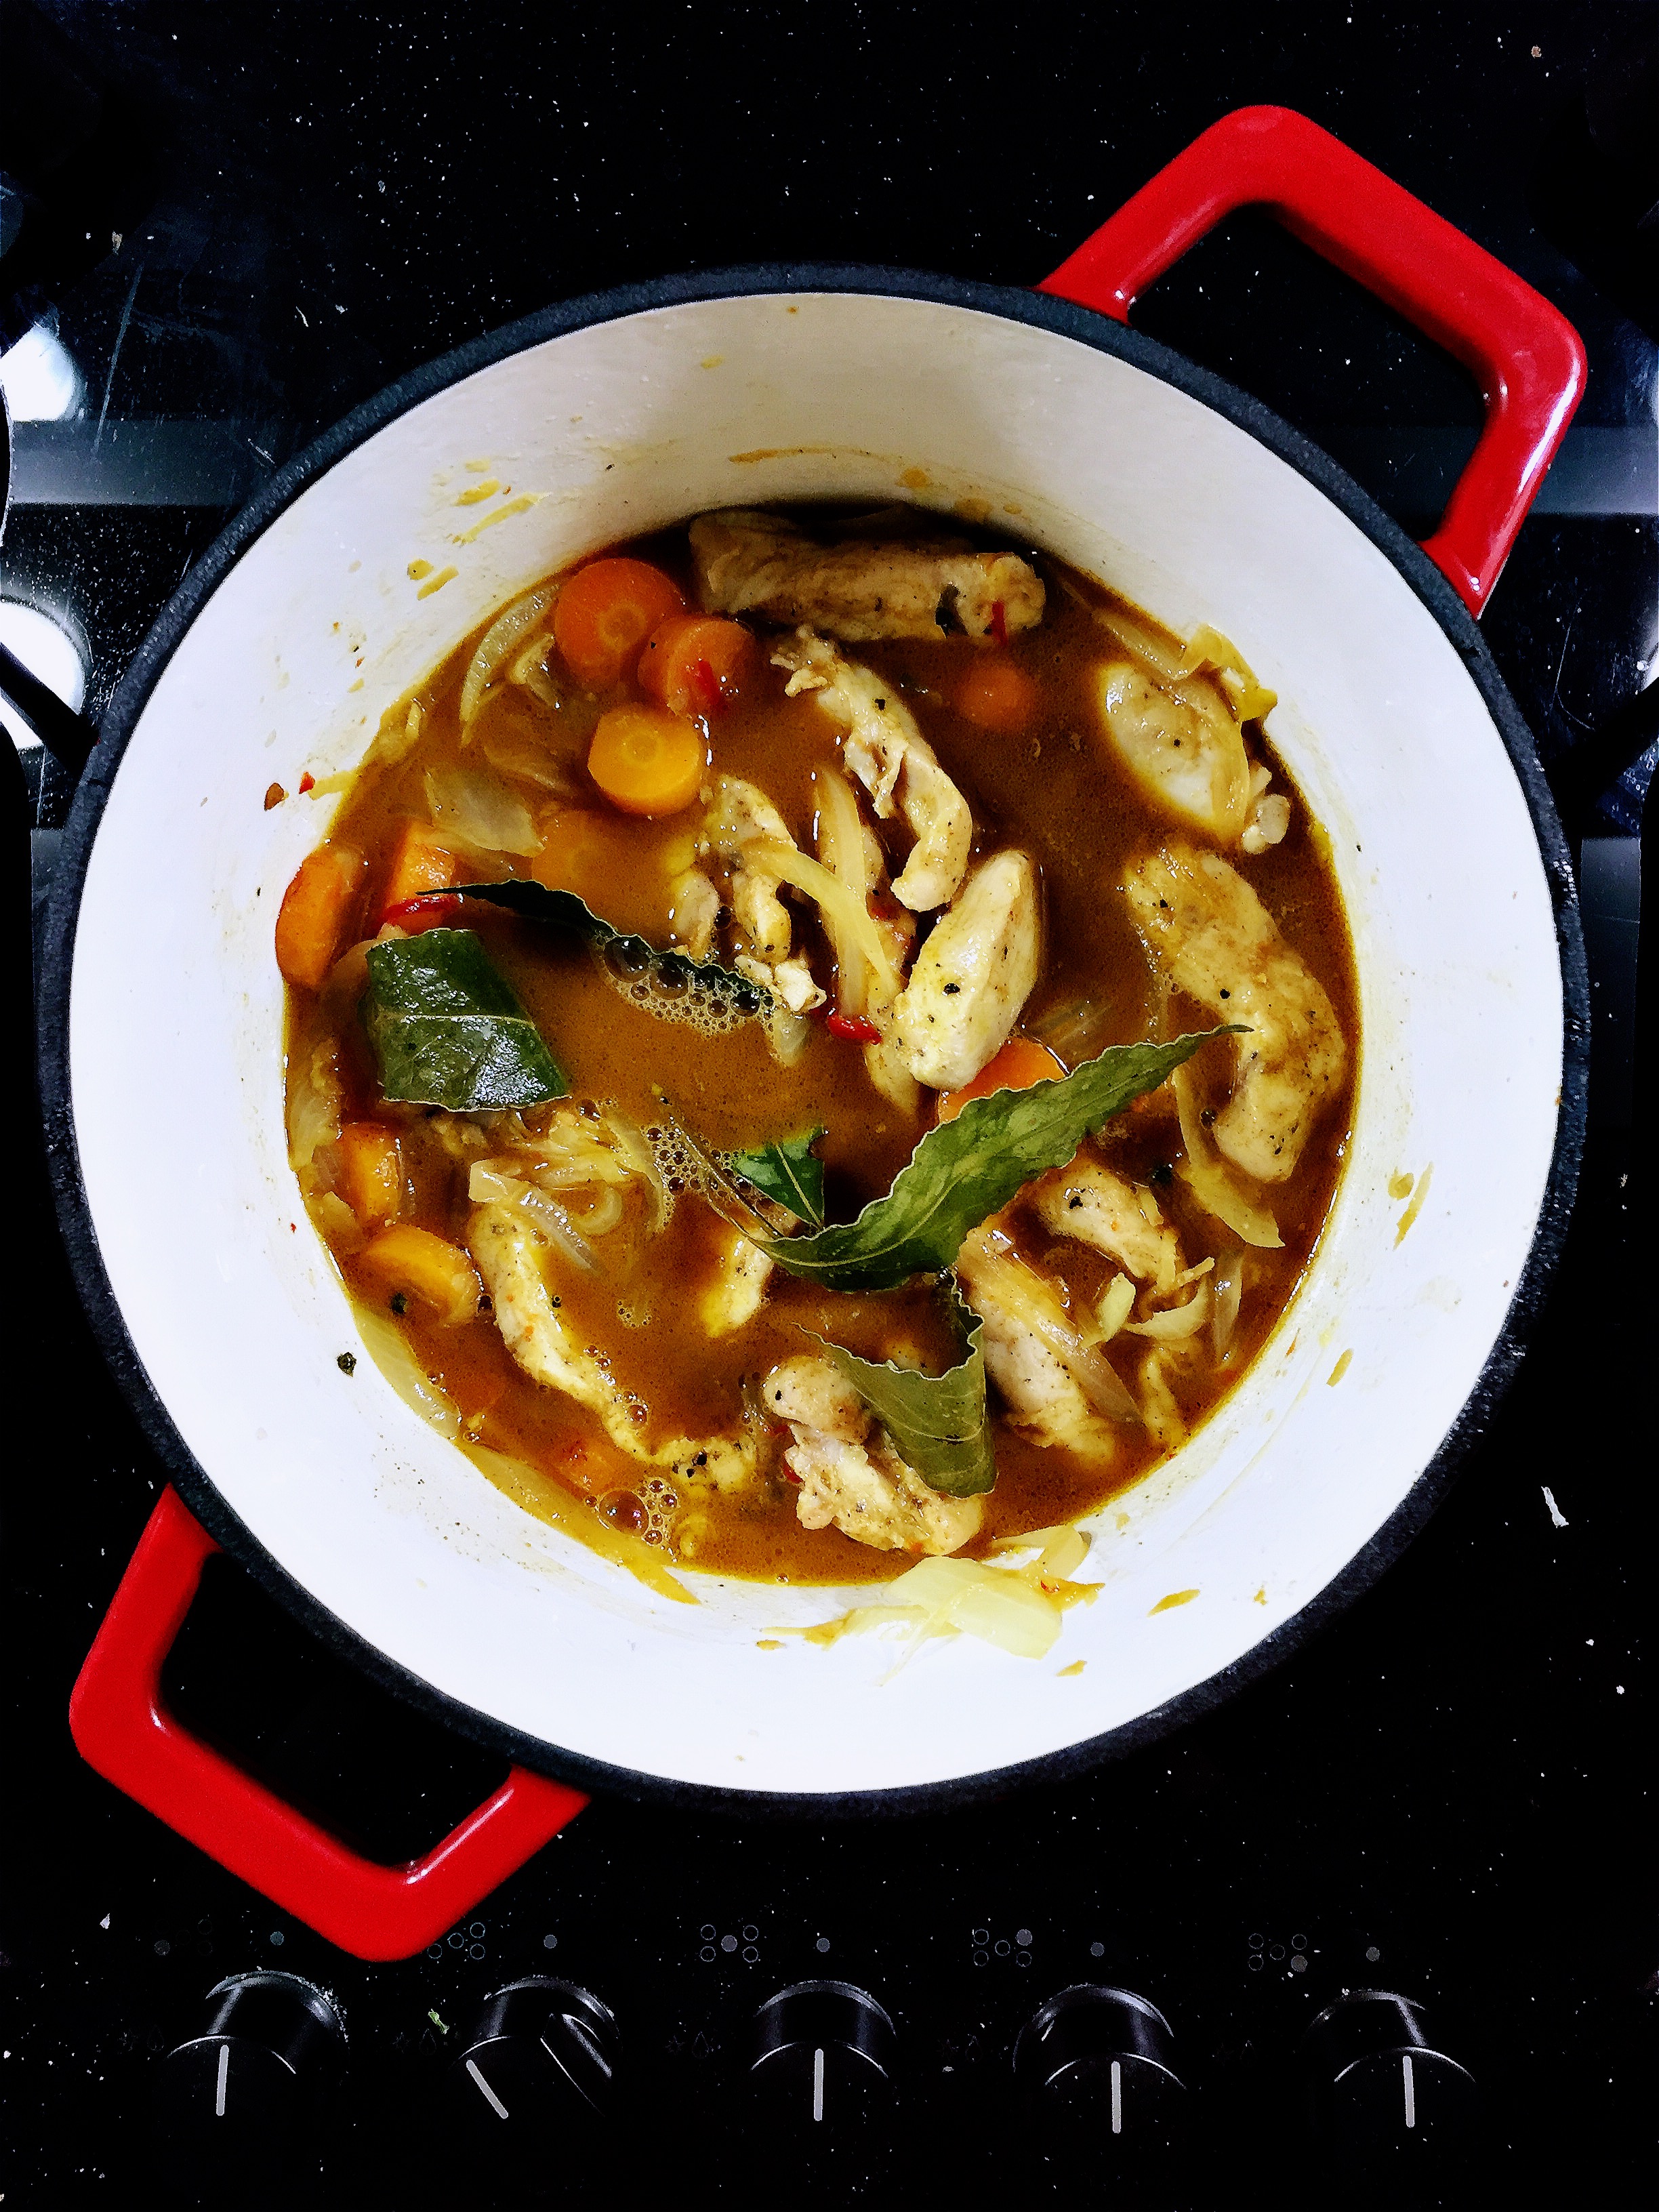
In the same, unwashed pan, add a splash of olive oil and fry the meat stirring occasionally doing so on a low heat. Don’t try frying on a high heat as the marinated meat will more likely burn rather than caramelise, and the taste won’t be as delicious. Trust me, been there, done that 🙂

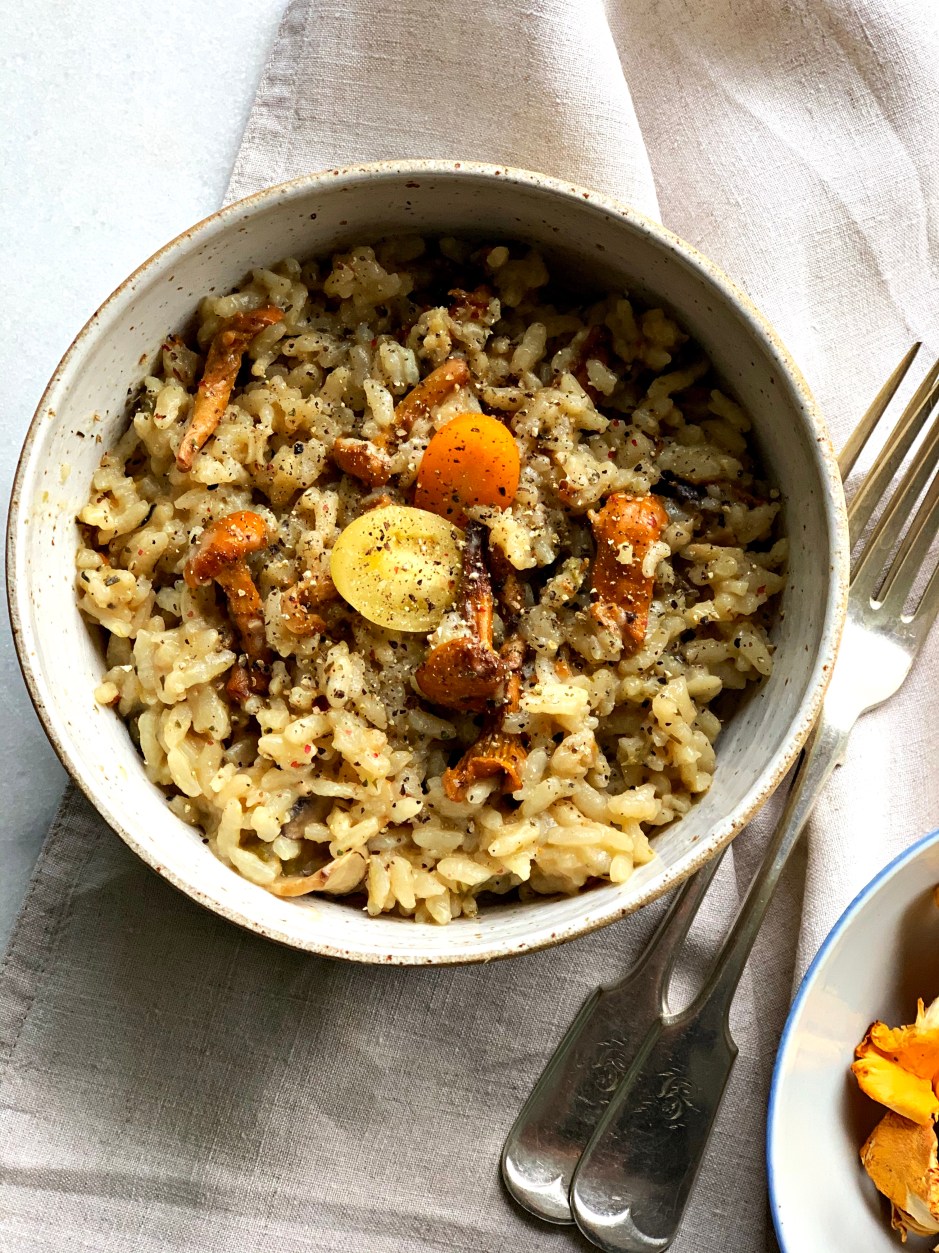
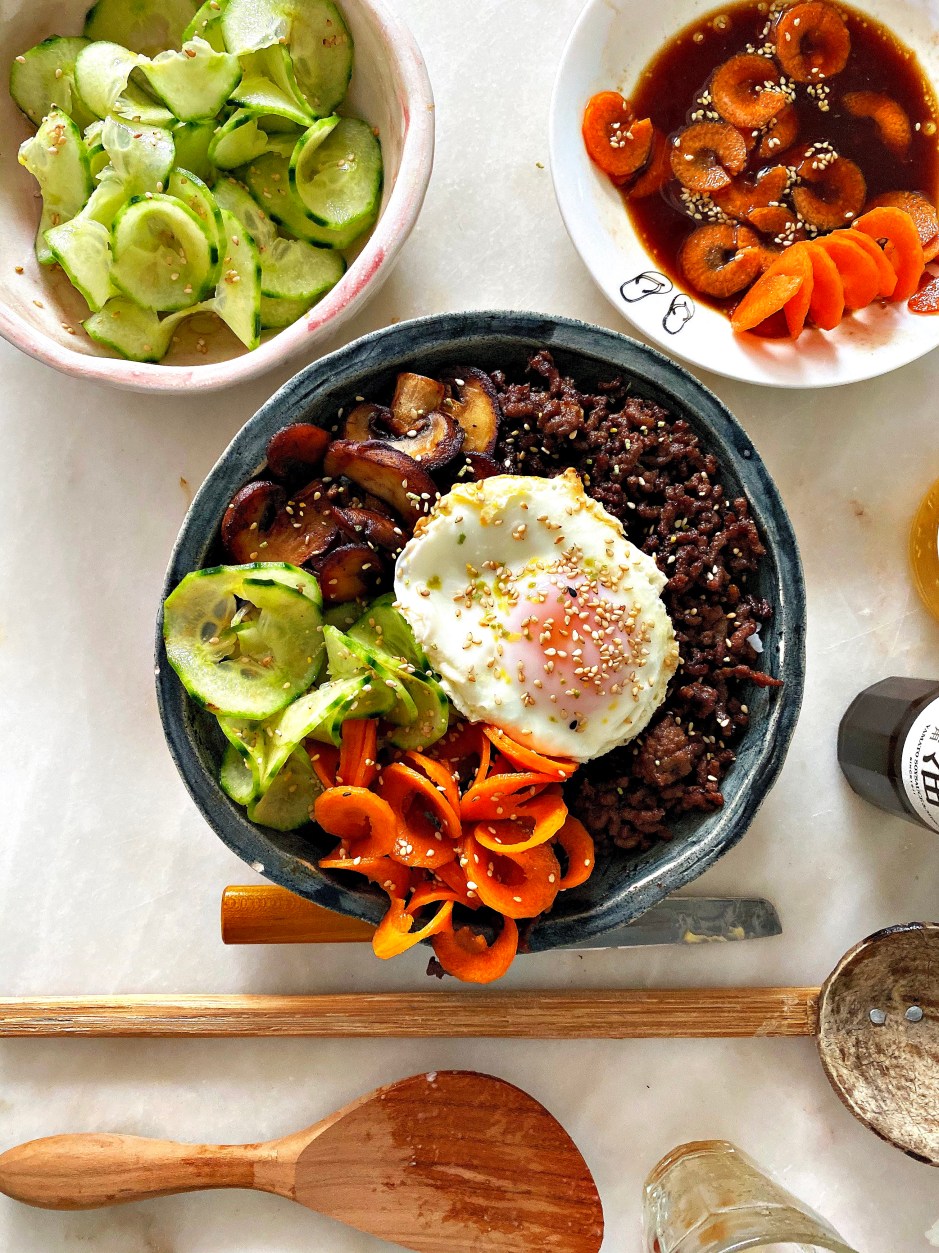
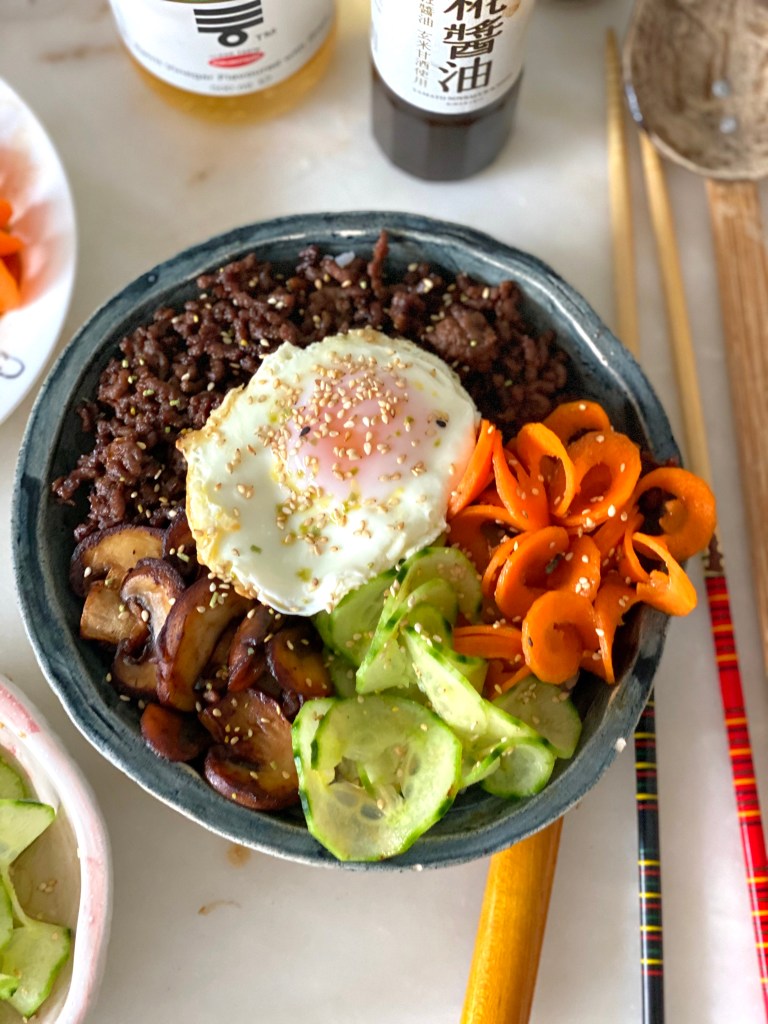
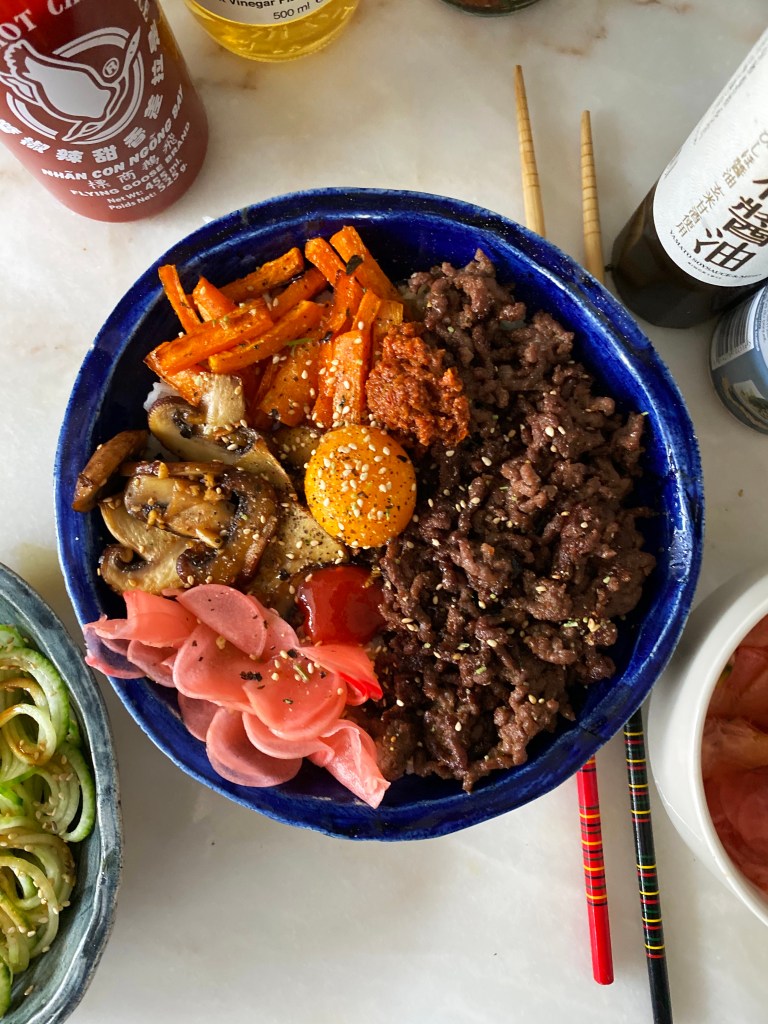
Once the rice is ready, cover bottom of each and then following the images below, place the carrot, mushroom and pickled radishes on one side and meat on another. Place an egg yolk gently in the middle and finish with either sriracha sauce or the proper Gochujang Korean sauce.

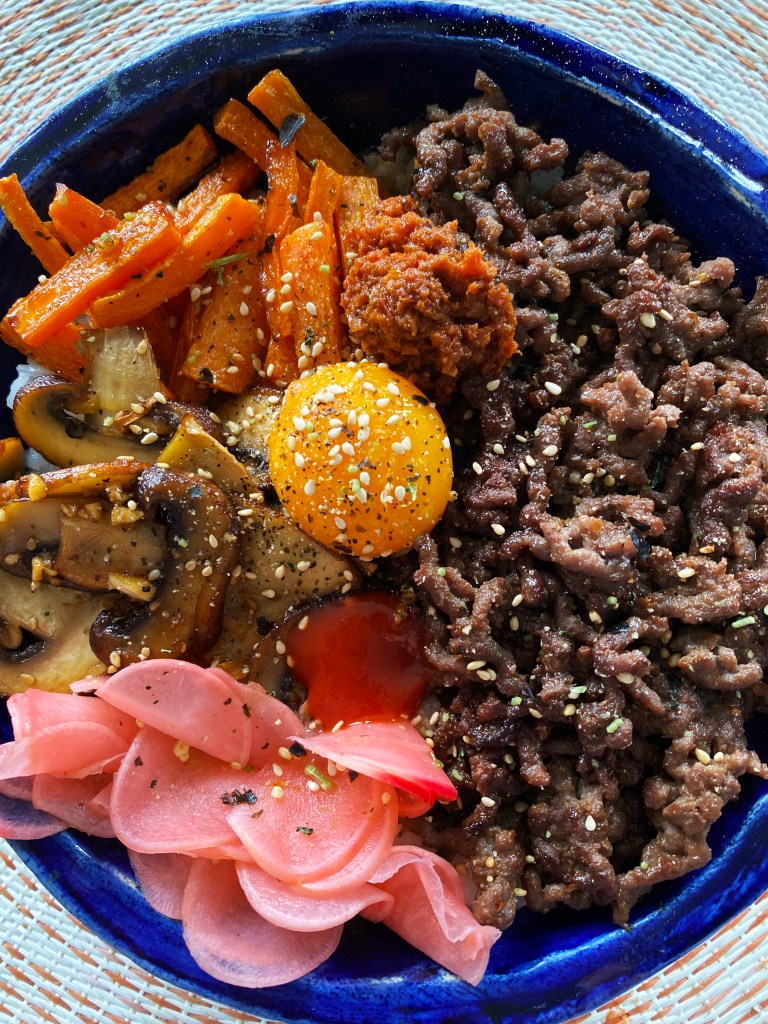
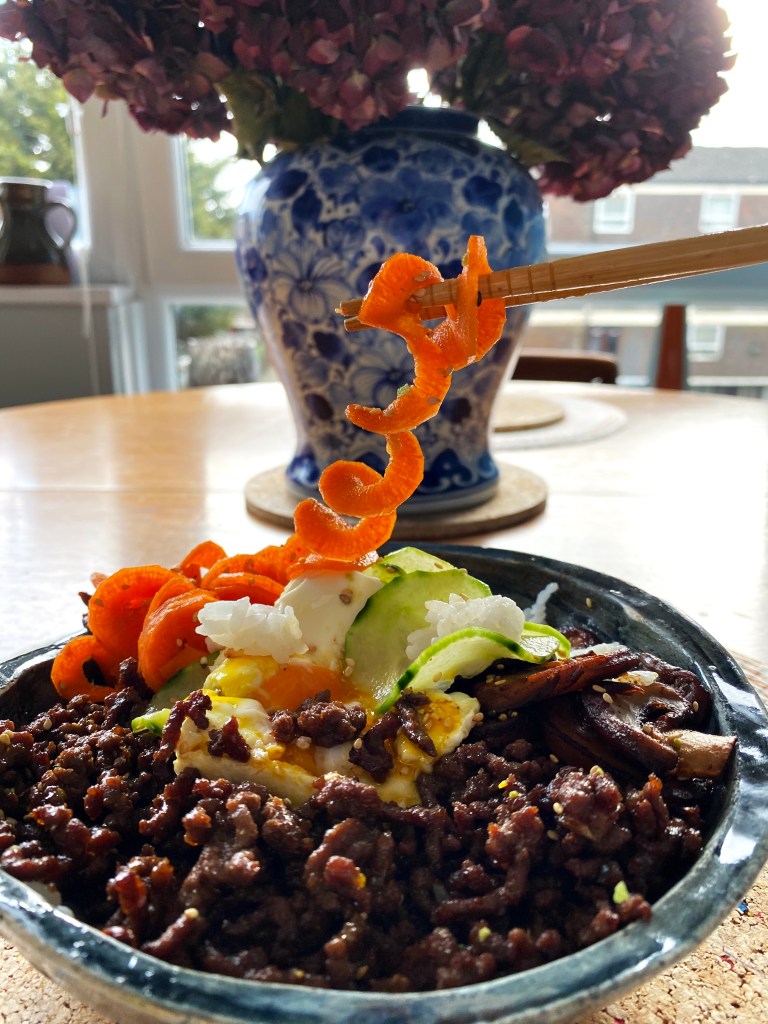
Take the cucumber salad out of the fridge, stir gently and enjoy your undoubtedly delicious Bibimbap!

Mmmushroom risotto

I have eaten risotto of many descriptions during my Italian excursions or cooked by my Italian friends. As simple as it seems, it is not as easy to cook this dish well. That was what I was thinking as I devoured a delicious bowl of steaming risotto by my friend Angela.
As it happen, she has just moved out of London, Autumn had just started, the farmers market started selling all shapes and sizes of mushrooms, and I was in despair for some comfort food. So I made my first ever risotto which I am pleased to share with you here.

As usual, I did not follow any specific recipe (except the rice cooking time) and here’s what I used for my first ever risotto. Feeds 4.

1 finely chopped medium shallot onion
1 tbsp of capers, chopped
a handful of finely chopped parsley
2 garlic cloves chopped
1litre of vegetable stock, salt and pepper
a handful of porcini/chanterelle mushrooms
a spring of chives, chopped to garnish
a pinch of salt and pepper

Add a glug of olive oil to a pan and gently sweat onion, garlic, parsley and a good pinch of freshly grounded pepper.
Once ready, pour gently stock and stir. Add risotto rice to simmering mixture and stir again. Cover with a heavy lid and leave to simmer on a low heat for about 20-25 mins. Keep checking last this could take less time depending on your hob. Stir every so often.

When ready, serve in deep bowls, and garnish with chopped chives or like me, cherry tomatoes and freshly ground rainbow pepper.
They go so well with the flavour of this dish!

The Cooling Effect

Temperatures are rising, summer is in full swing. London is blazing in the heat, and the last thing one wants to do is eat a hot meal. Gazpacho seems to be the obvious menu choice; HOWEVER this cold beet and kefir soup is just, well, on another level. Not only is it delicious and healthy ( thanks gut friendly bacteria!) but above all, it couldn’t be easier to make.

To make 4 portions, all you need is:


1 litre of kefir
4 medium cooked beetroots
(you cay buy them in stores, you don’t want to cook them yourself)
a half of organic cucumber
a bunch of radishes
finely chopped chives, dill, 2 garlic cloves
coarse salt and pepper

Grate cucumber, radishes, beets and place all in large bowl/cooking pot.
Finely chop the garlic, chives and dill and add to the mixture.
Season with salt and pepper.
Pour in the kefir and combine gently with the other ingredients.
Rest in fridge for 4-12 hours – the longer it rests the richer the flavour .
Season as needed and garnish with a boiled egg and greens.

Enjoy!💞

the cooling effect

Japanese Curry!

Usually, when you think of curry, one conjures up images of India, not necessarily Japan. I had the same connotations until I joined Monocle Café and started working with the Japanese team who introduced me to this creamy and vibrant meal. Although it’s been a long time since I said my farewells to this wonderful Team, I still recreate this meal to my own taste and proportions…and let me tell you – my fine tuning has resulted in a dish more spectacular than I could hope for! So, my first action (or second, as I ate this as soon as it was ready!) was to share with you on my blog. Again, this is easy to prepare food (20-25mins), excellent for dinner or as a supper day after.

Ingredients:
2 medium chicken breast, sliced
a couple of medium carrots
up to 3 shallot onions
2 garlic cloves
a few bay leaves
1/2 of chili pepper
a handful of green peppercorns
3 large spoons of butter
about 300ml of greek yoghurt – depends how creamy you want to make this dish
1 tbsp of madras curry (powder/paste)
1 tbsp of curry roux (or garam masala)
2 tsp of konsome stock

In cast iron pot, melt the butter with bay leaves (I figured out that this is a great solution to extract most of the aroma from the leaves). After a couple of minutes add peppercorns, chili with vegetables and braise together until al dente. Do not overcook them as they’ll soften more with the chicken added a bit later.   If you’re not sure about the order, follow the photos with description, and I believe your cooking will be more enjoyable!

IMG_1421
When vegetables are al dente, add seasoned chicken and braise until meat is tender.

IMG_1424
Prepare curry mix: 200ml boiling water, tbsp of curry powder, tbsp of curry roux and tsp of konsome stock. Mix all together.

IMG_1418
Pour the curry mix into pan and stir for 5 mins. Don’t worry if at this stage if it tastes rather  salty. The yoghurt you’ll add after the curry is mixed with chicken, will balance all the  flavours perfectly!

IMG_1416
ready to eat. Is it only me who thinks that this image speaks for itself? #mouthwatering

Processed with VSCOcam with f1 preset
brown rice complements the perfectly rich flavour of this delicious meal. #yum

Bon appétit aka Meshiagare!

Braised pollock

I am a big fan of fish, pollock in particular. Mostly because this type of fish was often served by my Mum when my hungry brother, sister and I got home from school. She always kept extra pieces frozen for emergencies, but most of all she knew that thanks to its white, chunky yet delicate flesh, Pollock was a lighter and healthier alternative to meat. To cut a long story short; Mamunia (our affectionate petname for our Mum) is a master in one particular fish-based meal; Greek style fish. Although the origins of this meal has nothing to do with Greece, its named that way in my home country and usually served for celebratory occasions. Not in our house. It was the ideal meal when she had limited time and wanted to make something easy for the whole family. My version is slightly updated with ingredients such as capers and lemon zest. As a result you’ll get a traditional meal with modern twist. I served it to Mamunia once with mixed feelings whether she’ll like it…or not. And let me tell you, there’s no bigger pleasure when your Mum is asking for an extra portion of what you’ve cooked!

Ingredients:
3 peeled carrots
1 medium peeled parsnip,
1 medium leek
1 large onion (Spanish is best)
1 unwaxed lemon, few bay leaves
2 tbsp of marinated capers, 4 allspice corns
bunch of lemon thyme, salt, pepper
1 bottle (700ml) of tomato passata

IMG_0776
Pollock fillet seasoned with capers, thyme, lemon zest and pepper.

Season the fillets and place them on a baking tray. Add capers, thyme and lemon zest.
Bake in the oven  for 10-15 mins at 180C

IMG_0763

In the meantime chop onion and leek and stir in a lightly oiled heavy bottomed pan with allspice and bay leaves over a low heat. Then add grated carrot, grated parsnip and sweat until veggies are tender. When it’s time, pour the passata into vegetables and cook thoroughly. Place everything in an oven proof dish with baked fish and leave in the warm oven for another 10 mins.

Processed with VSCOcam with s3 preset
Version with poached egg and chopped parsley-my favourite!


Cavolo Nero!

Not cabbage nor lettuce. Actually Cavolo Nero is a cousin of kale.
It has an interesting, slightly earthy and peppery flavour and is a great alternative if you are tired of the greens that regularly appear on your plate.
Until recently, I didn’t have a clue what Cavolo Nero was and what I could make with it.
I bought it from my local grocer attracted by its beautiful colour and interesting structure (AKA Dinosaur skin!) He said I’d like it and he wasn’t wrong. These unusual leaves were in my fridge for two days before I decided to cook it, and it was still fresh and firm.
I created this new meal out of what I had left in the fridge and cupboard, a bit of a stir fry idea with an Italian twist. And the result was rather flavoursome.

It consists of:

2 bunches of cavolo nero
2 tbsp of grated ginger
1/2 of unwaxed lemon
1 large spanish onion
4 garlic cloves
1 chilli pepper
a pinch of crunchy salt and coarse pepper

Processed with VSCOcam with c1 preset

Heat up a glug of olive oil in a heavy bottomed pan, add chopped onion and stir until soft. Add sliced garlic, chilli, rosemary (optional) and grated ginger. Cover with lid and sweat for a few minutes. Add the cavolo nero, stir with vegetables on very low heat until wilted. Season with crunchy salt and pepper. Mix with freshy cooked linguine pasta and serve immediately sprinkled with lemon juice.
I didn’t have any parmigiano in the fridge last night but I think it would be a perfect ingredient to grate on top of this meal before serving.

Processed with VSCOcam with a6 presetIMG_1108IMG_1128

#yum!

Pa-Pa-Pa-paya!

Juicy, tasteful and very easy to make.
Roasted papaya is a super healthy snack and a great alternative to winter heavy meals = festive season in particular. Honestly, I frequently fall back on this recipe when having “no idea what to eat” syndrome.
Other benefits? It is also loved by the little ones!

You need:

2 medium ripe papayas
2 limes
2 spoons of soft cane sugar

Cut the fruits into halves, remove the stones.
Sprinkle each half of the papaya with squeezed lime juice and then with cane sugar.
Shave the lime skin on the parmigiano cheese shaver (the best tool ever!)
Place under the grill for 10mins.
On still-hot fruit, squeeze the remaining limes and grate the lime skin.

You’ll love it.

IMG_9104IMG_9098
IMG_9094